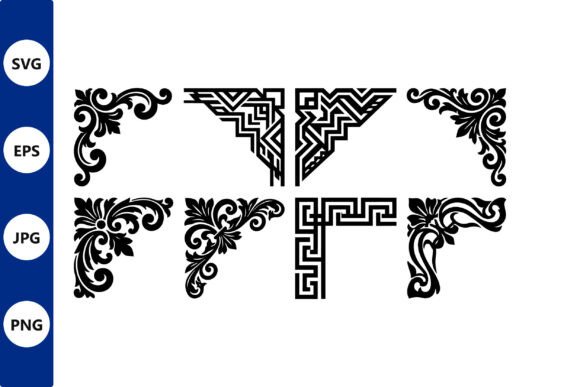
Mastering Ornate Vector Corner Flourishes Border for Professional Design Results
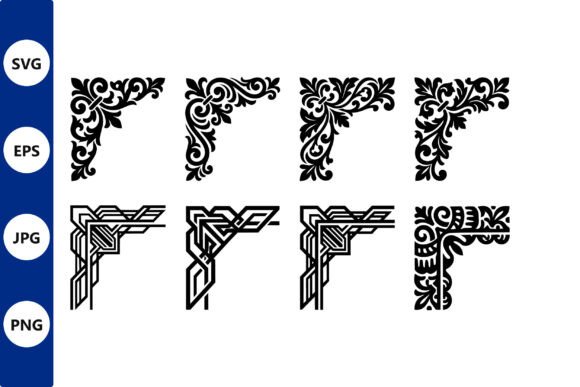
When you are building a brand identity or crafting a high-end invitation suite, the difference between an amateur layout and a polished masterpiece often lies in the details. This is where an Ornate Vector Corner Flourishes Border becomes an indispensable asset. These intricate black corner ornaments and maze-like motifs do more than just frame your content; they establish tone, guide the viewer’s eye, and add a layer of sophistication that plain text simply cannot achieve. However, many creators rush into using these elements without understanding the technical nuances, leading to pixelated prints, misaligned layers, and wasted time.
Understanding how to properly select, implement, and optimize these decorative assets is crucial for anyone serious about design quality. Whether you are a small business owner creating packaging, a hobbyist making wedding invitations, or a professional designer working on client deliverables, avoiding common pitfalls will save you from costly reprints and frustrating software errors.
The Trap of Low-Resolution Raster Files
One of the most frequent mistakes beginners make is relying solely on JPG or PNG files for print projects. While the digital download includes high-quality PNG and JPG formats, these are raster images, meaning they are made of pixels. If you scale a raster image up beyond its original dimensions, it becomes blurry and jagged. This is disastrous for physical products like wall art or large decals where clarity is paramount.
The better approach: Always prioritize the vector formats included in your download, specifically SVG and EPS files. Vectors use mathematical paths rather than pixels, allowing you to resize the ornate corner flourishes to any dimension—from a tiny tattoo stencil to a massive billboard—without losing a single bit of sharpness. Reserve the PNG and JPG files for web-only applications, such as social media graphics or email headers, where file size matters more than infinite scalability.
Overlooking Layer Cleanup and Optimization
Many free or low-cost design resources come with messy file structures. You might open an EPS file only to find hundreds of unnecessary anchor points, hidden layers, or stray lines that complicate your workflow. This clutter can cause issues when sending files to professional printers or when using cutting machines like Cricut or Silhouette for personalized decals.
Fortunately, this specific set features designs that are individually cleaned up and optimized. However, you must still verify the integrity of the files in your preferred software. Before finalizing a project, check for open paths or overlapping shapes that might confuse cutting blades or cause unexpected color shifts in printing. Taking five minutes to inspect the node structure ensures that your intricate black corner ornaments render exactly as intended, maintaining the delicate balance of the maze-like motifs.
Misjudging Scale and Visual Weight
A common aesthetic error is using corner flourishes that are too heavy or too light for the accompanying text. If the border is overly thick and complex, it can overwhelm simple, elegant typography. Conversely, if the flourishes are too delicate, they may disappear against a busy background or fail to provide the necessary structural frame for the content.
To avoid this, consider the hierarchy of your design. For formal invitations, pair these ornate vectors with classic serif fonts, ensuring there is adequate white space between the text and the border. For modern home decor or tattoos, you might experiment with rotating or mirroring the corners to create a continuous frame or a unique asymmetrical layout. The key is balance; let the decorative border enhance the message, not compete with it.
Ignoring Color Mode Requirements for Print
Digital screens display colors in RGB (Red, Green, Blue), while professional printers use CMYK (Cyan, Magenta, Yellow, Key/Black). A frequent oversight is designing in RGB and assuming the black in your vector corner ornaments will print as a rich, deep black. Often, it may appear washed out or slightly gray if not configured correctly.
When preparing your files for physical products, ensure your design software is set to CMYK mode. Since these motifs are black on a white background, you want to ensure the black is set to 100% K (Key) for crisp lines, or a rich black mix if the area is large. This attention to detail prevents the disappointment of receiving printed materials that look dull compared to what you saw on your monitor.
Choosing the Right Format for Your Tool
Not all design software handles vector files equally. Assuming that an SVG file will work seamlessly in every program is a mistake. For example, Adobe Illustrator and CorelDRAW excel with EPS and AI files, while web-based tools like Canva have improved their SVG support but may still struggle with complex paths found in intricate maze-like motifs.
- For Professional Printing: Use EPS or PDF exports to preserve vector data and font information.
- For Cutting Machines: SVG is typically the best choice, but always simplify the path if the machine struggles with too many nodes.
- For Web and Social Media: Use PNG with a transparent background to ensure the white background of the original file does not block your underlying design.
By matching the file format to your specific tool, you streamline your workflow and reduce technical friction. This efficiency allows you to focus on creativity rather than troubleshooting import errors.
Verifying Commercial Use Rights
Before investing time into a design project, always confirm the licensing terms. Many creators assume that purchasing a digital download grants them unlimited commercial rights, but this is not always the case. Some licenses restrict the number of physical items you can sell or prohibit the use of the raw vector files in logos.
This particular set is designed for versatile use, including custom wall art, home decor, and personalized decals. However, it is wise to read the specific license agreement included with your download. Understanding these boundaries protects your business from legal issues and ensures you can confidently market your finished products. If you plan to use the corner flourishes as part of a logo, check if modification is required to meet trademark standards, as stock elements alone usually cannot be trademarked.
Final Checks Before Production
Before you hit print or send files to a manufacturer, perform a final audit. Zoom in to 400% on your screen to inspect the curves of the ornate vectors. Are there any jagged edges? Is the spacing consistent? Does the black color appear solid? These small checks can prevent large-scale errors. Additionally, print a test copy on standard paper to evaluate the visual weight and alignment before committing to expensive cardstock or vinyl materials.
By treating your Ornate Vector Corner Flourishes Border with the same care as your primary content, you elevate the perceived value of your work. These intricate elements are powerful tools when used correctly, offering a timeless elegance that resonates with audiences across various mediums. Avoid the common traps of poor resolution, incorrect color modes, and mismatched formats, and you will consistently produce professional-grade designs that stand out in a crowded marketplace.